A basketball court with court tiles is just different! Not only does it make the court fancier, but it also becomes cleaner and a little bit safer. Obtaining the court tiles is easy, as there are many different kinds that are sold online, and one of the best out there is the ZSFloor Tech basketball court tiles. However, installing them is the tricky part. This article will provide a step by step guide that will help you install your outdoor basketball court tiles easily.
Steps On Installing Basketball Court Tiles
With a proper guide and the right tools and equipment, installing court tiles on a basketball court is really not that hard. Here are the steps on how to install court tiles on a basketball court:
Prepare The Surface
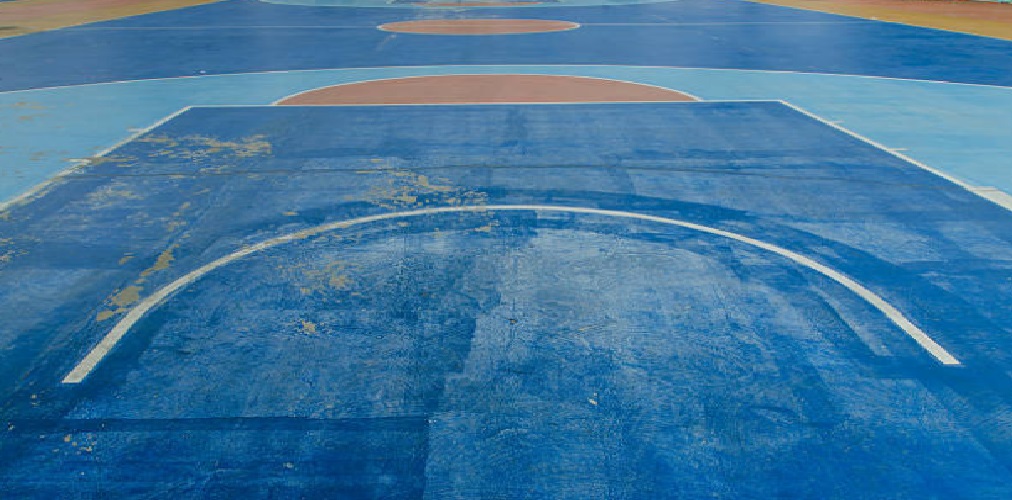
The first step is to prepare the court that you will be putting the tiles on. And by "preparing," it means cleaning and leveling the surface of your basketball court. You would want to remove the scattered debris and dirt on the surface of your court that make it uneven. But if you notice that your court is way too uneven, hiring a professional to do the work is your best option.
Arranging The Tiles
After making sure that the surface is clean and even, the next step is to lay out the tiles. The most important thing to keep in mind when arranging the tiles is to determine where you want to start. It would also be best to lay the tiles out in a staggered pattern while leaving a gap between each tile to give it room for expansion.
Cutting The Tiles
Every tile that is meant to be installed on the perimeter or around any obstacles is bound to be cut to fit the shape of the edge. The best equipment for cutting the tiles is a jigsaw with a fine-tooth blade. Make sure to outline the tiles that need cutting to avoid unnecessary mistakes, and it is also important to wear a mask and safety goggles while cutting them.
Connecting The Tiles
After properly laying out the tiles along the entire length of the court, make sure to secure them in place by using interlocking mechanisms such as screws and bolts. It is also important to keep in mind that you should follow the manufacturer’s instructions to avoid making unwanted mistakes. Asking a professional for help is also recommended.
Finishing Up
After the tiles are laid out and secured, it is time to add the finishing touches. This step includes adding edge pieces to make the court look finished! Of course, you can also add your own lines, paintings, and other designs that would suit your preferences so that you are fully satisfied.
Conclusion
Installing court tiles on a basketball court not only makes your court durable but also provides a safe surface whenever someone plays basketball. Although installing court tiles is a bit complicated, following the step-by-step guide above ensures that your installation is not only successful but also quick and easy. Just keep in mind that the most important thing is to follow the manufacturer’s instructions and always take safety precautions whenever you are using equipment to cut or secure the tiles in place!